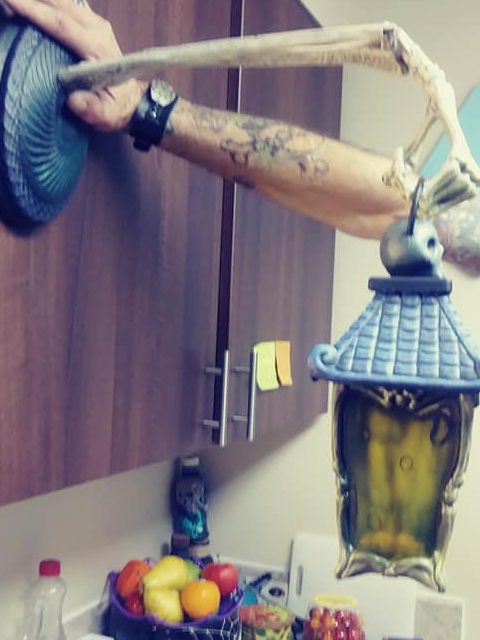
Those of us who choose to home décor shop around Halloween don’t always find the ideal items. Sometimes we find items we like but have to put in a bit of elbow grease to make them ours or to fit our homes. Enter in our before and after shot. We started with a pretty plain lantern with potential and we ended up with a Nightmare Before Christmas-ish styled after. Both Grims participated. Grimming Mama did the dry brushing on the normal plastic and Grimming Papa did the airbrushing of the “glass”. Also he did the clear coat matte finish on whole lantern.

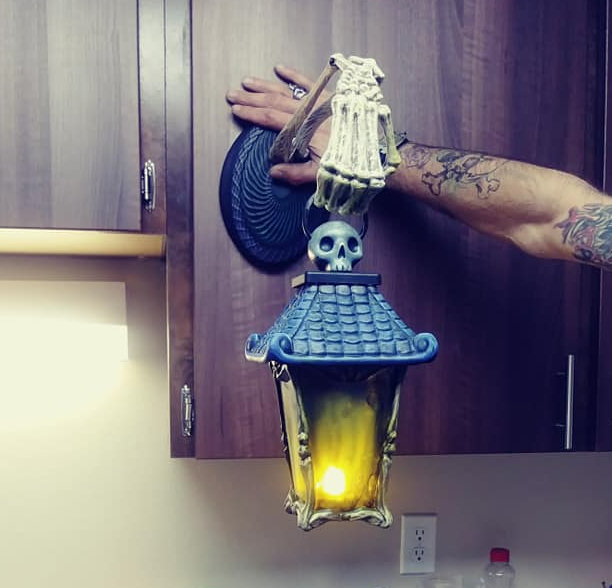
We happened upon this at our local Walmart in Portland, Oregon and we just knew between the two of us we could make this one of our must haves for the year.

The light! Oh my goodness was it bright, no, no, no we can’t have that in our home we need to take that down a notch.
We loved the look of it off and were highly motivated to transform it to fit our favorite lounge area.
To start our process the clear plastic was removed then we cleaned with alcohol to remove any contaminates. We let it dry thoroughly then Grimming Mama took it to her work area and began applying acrylic base coats of color. Next she added the dry brushing.
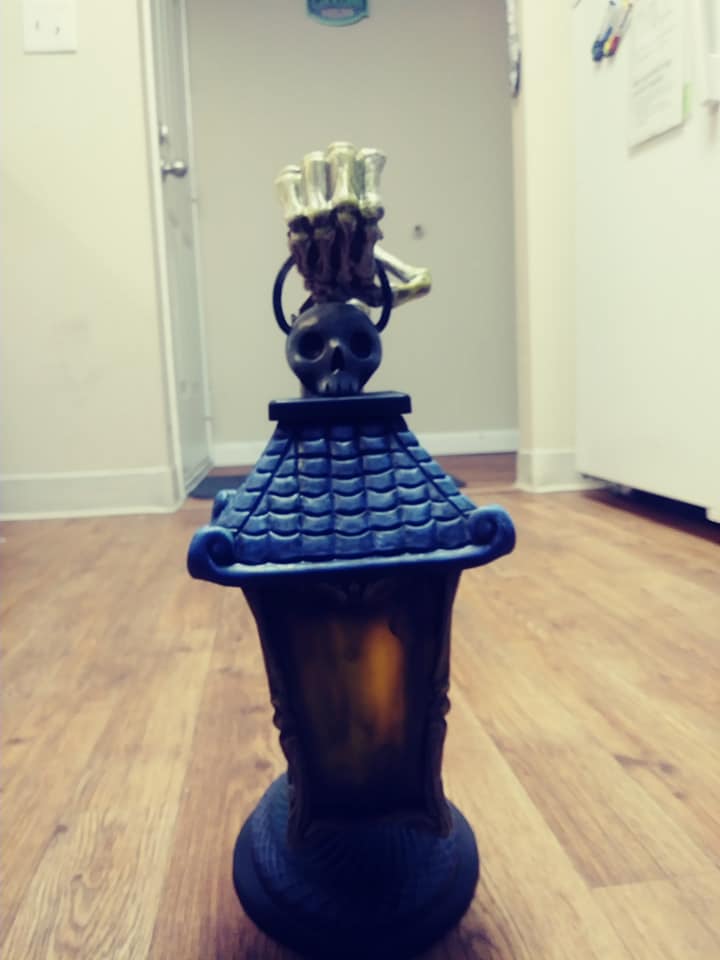
When the lantern was pretty close to being done to our liking, then the airbrushing started. There were a few test fittings of the weathered Glass and even a redo of one pane. The airbrush paint was water based so until it was cleared we were able to make changes.
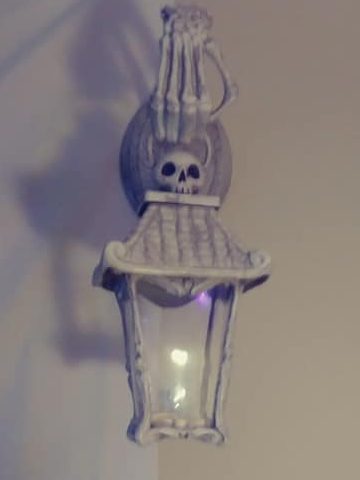
Once we were sure we were ok with our lantern was the final process. The matte clear coat was applied to the whole lantern.
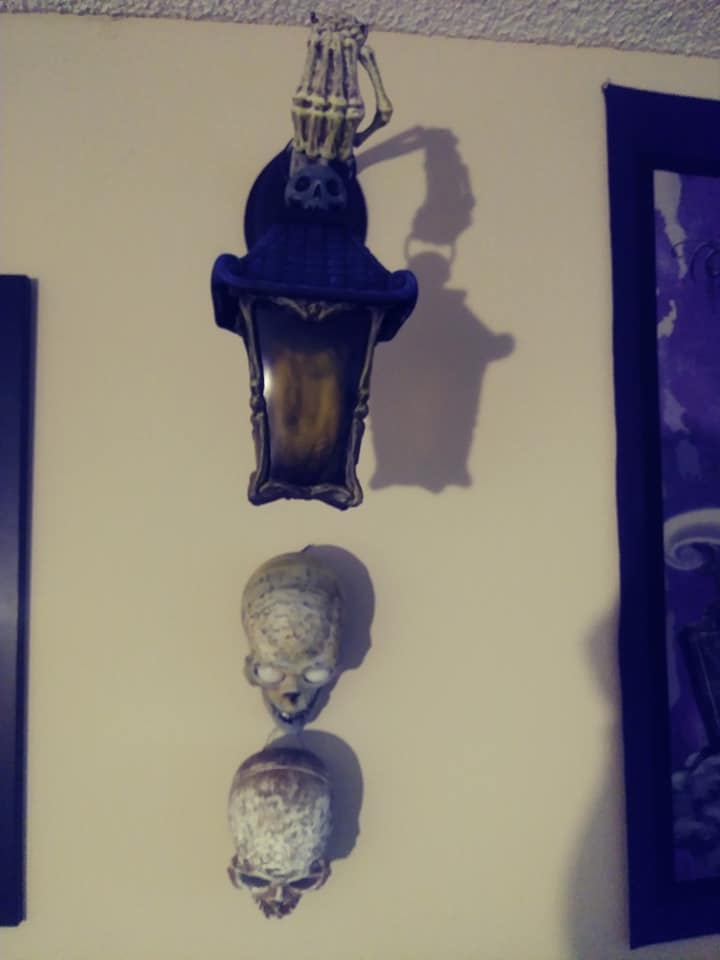
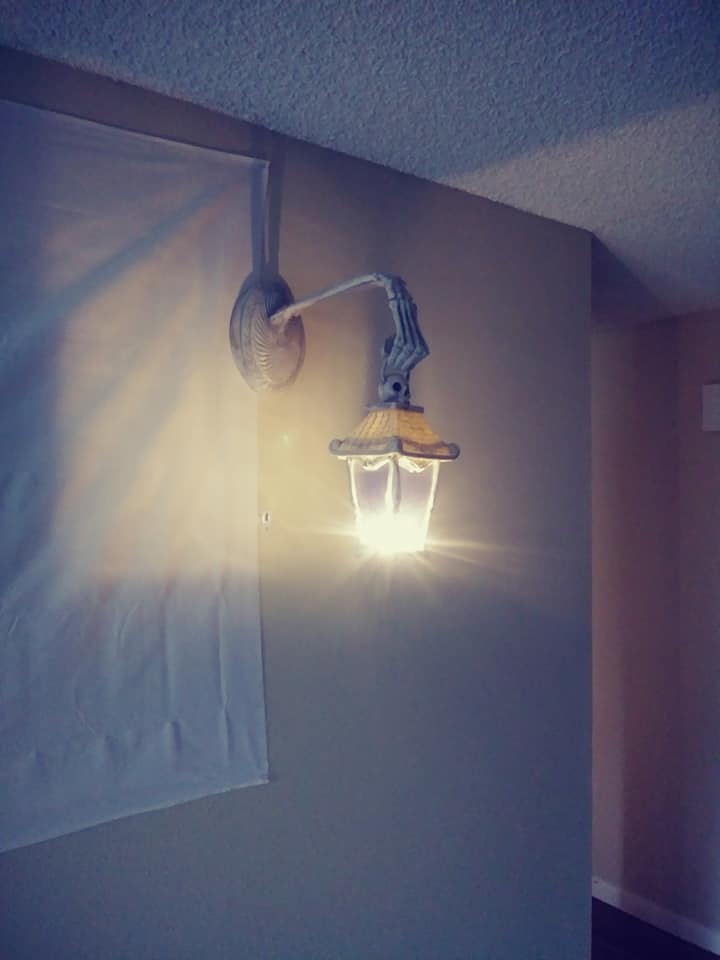
We found the lantern’s home and then the magic begins, for us at least.
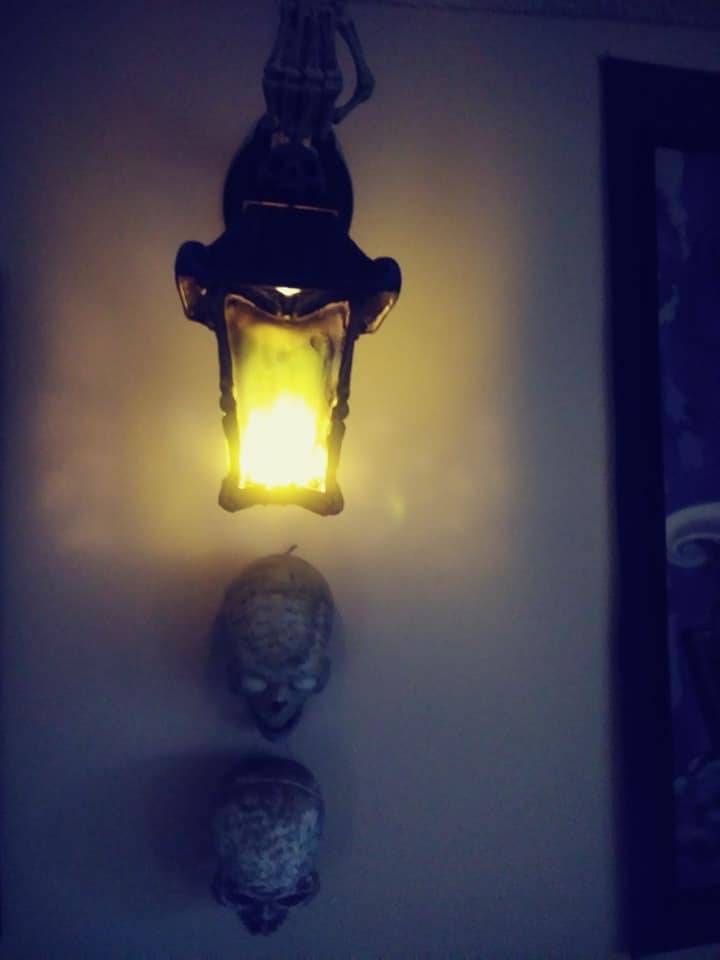
For us it isn’t uncommon to take store bought items and give them our twist but there are a few things to keep in mind when doing so. For example the plastic panes we used a semi transparent water based paint. We wanted some light to come through for the eerie feel, but also didn’t want to fog up the plastic by the use of any chemicals. Always test your paints and or glues on a hidden part such as the bottom. Why? Well, if you find a reaction then you haven’t ruined your piece and this will give you time to research what might work better, if there is a reaction. Next, don’t be afraid to try something new, have fun with things like this. For us, we like a bit of whimsy, it makes us smile in our home. We like being surrounded by things we love, and it gives us a sense of pride when we have made them our own.
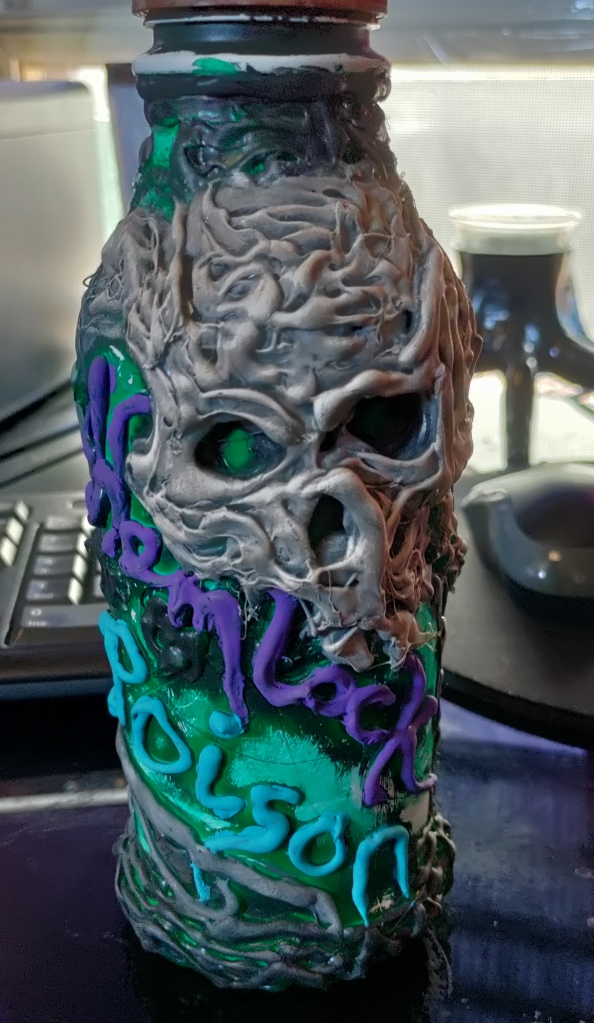
For a little example, in one photo we have a change jar in bottom right corner that has a hot glue mess that we experimented with and fell in love. So we thanked Starbucks coffee addiction, for the unique shape and Grimming Papa for his artistic abilities. It is goofy sure, but we will never see the same exact one anywhere else. And we have kept this silly thing for over 5 years now. We still use it, and the looks when we get when we pull it out in public are greatly amusing to us.
Have you taken something and made it your own? If so feel free to share in the comments below. Who knows you might inspire someone with your creativity.